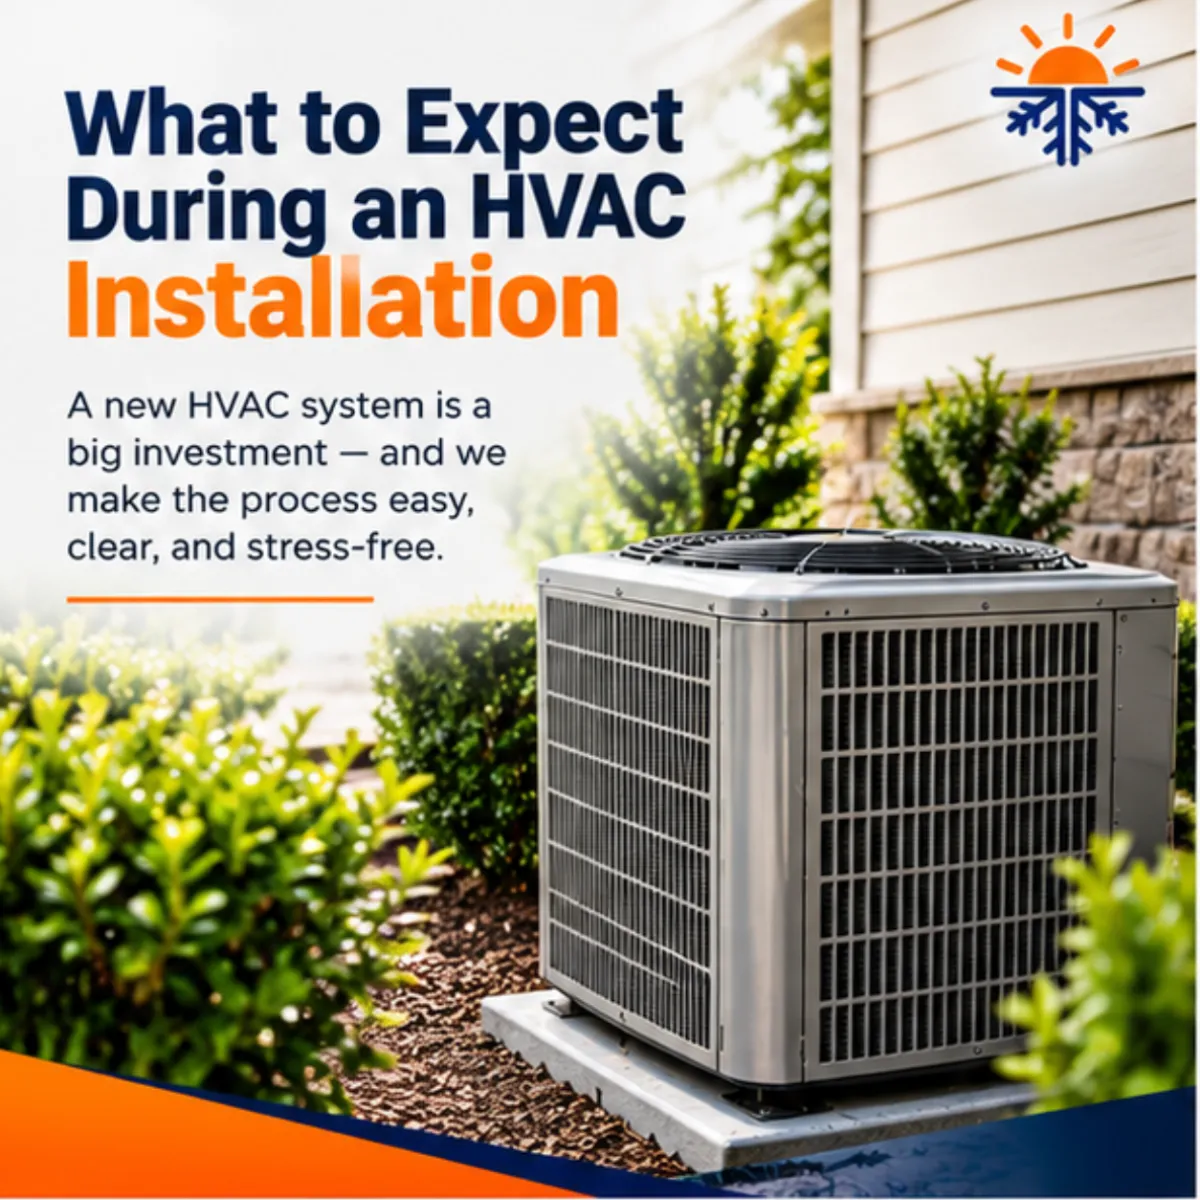
Step-by-Step HVAC Installation Guide for Homeowners

Home Improvement, HVAC Installation
What to Expect During an HVAC Installation: A Step‑by‑Step Guide for Homeowners
Replacing or installing a new heating and cooling system is a big project—and a big investment. Knowing what to expect before your HVAC installation day arrives can make the experience smoother, less stressful, and more successful for you and your home.
Before Installation Day: Assessments, Options, and Scheduling
Long before anyone starts removing equipment or drilling holes, a reputable HVAC company will complete a thorough in‑home assessment. This visit is about much more than measuring where the new system will go—it is about understanding your home, your comfort needs, and your budget so the system is properly sized and designed.
Home evaluation: The technician will look at square footage, layout, insulation, windows, and existing ductwork to calculate the right size system. An oversized or undersized unit can lead to poor comfort and higher bills, so this step matters.
System recommendations: You will typically be offered a few options—good, better, best—each with different efficiency ratings, comfort features, and price points. Expect a clear written estimate that outlines equipment, labor, and any additional work needed.
Permits and scheduling: In many areas, permits are required for HVAC installations. The contractor usually handles this, but it is worth confirming. Once permits and equipment are lined up, you will choose an installation date and get an approximate start time and duration.
💡 Pro Tip: Use the estimate appointment to ask about warranties, maintenance plans, and what exactly is included so there are no surprises on installation day.
Getting Your Home Ready for the Installers
A little preparation on your part can help the crew work efficiently and protect your belongings. You do not need to overhaul your home, but you should make key areas easy to access and safe to work in.
Clear pathways: Move small furniture, décor, and clutter away from the indoor unit, outdoor condenser, and main traffic paths. Technicians will be carrying tools, equipment, and sometimes large components through your home.
Protect sensitive items: Cover nearby furniture or electronics, especially if work is happening in an attic or basement where dust is common. Many companies lay down drop cloths, but an extra layer of protection never hurts.
Plan for pets and kids: For safety, keep pets and young children away from work areas. Consider setting them up in another part of the home or with a friend for the day.
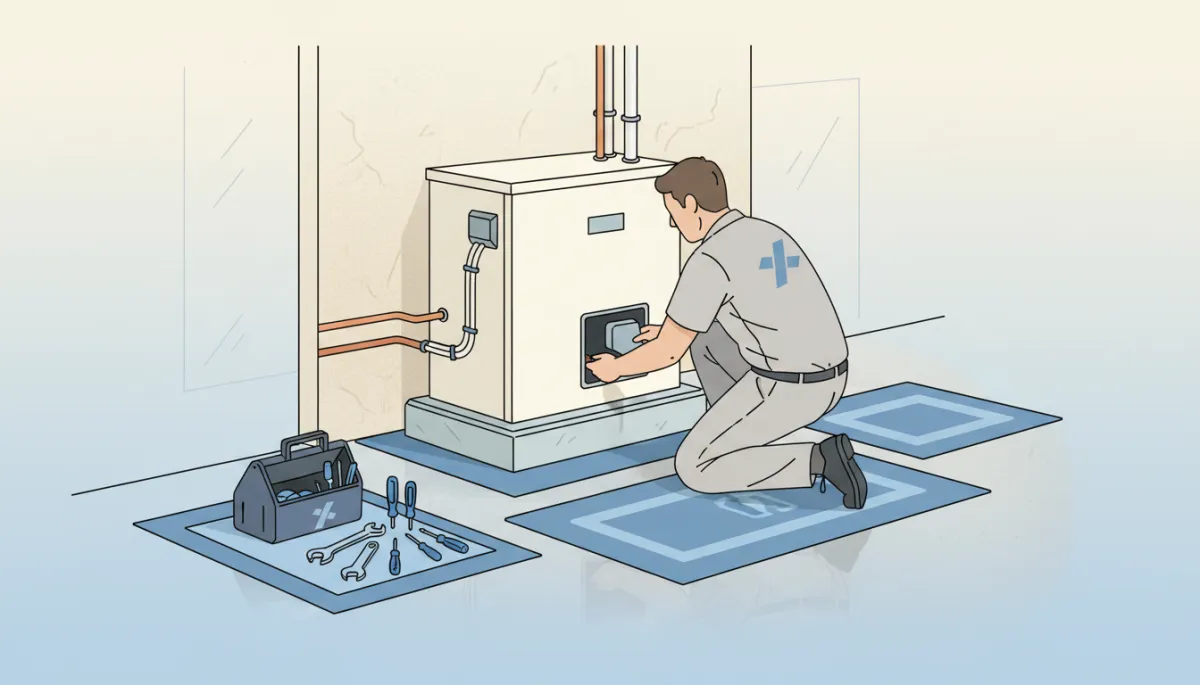
Professional installers protect your home while carefully positioning and securing new equipment.
Arrival and Walkthrough: Setting Expectations the Morning Of
On installation day, the crew will typically arrive within a scheduled time window. A lead technician will introduce the team, review the scope of work, and confirm the equipment being installed. This is your chance to go over any last‑minute questions and clarify details such as thermostat placement or where the outdoor unit will sit.
You can expect the team to protect your floors with drop cloths or runners, especially in high‑traffic areas. They may also turn off power or gas temporarily while they disconnect the old system and hook up the new one. Most whole‑home installations take a full day; more complex projects or ductwork changes can stretch into a second day.
📌 Key Takeaway: A brief pre‑work walkthrough with the lead installer helps ensure everyone is on the same page about locations, expectations, and timing.
Removing the Old System: Out with the Inefficient, In with the New
The first major step is safely removing your existing equipment. This usually includes the indoor furnace or air handler, the outdoor condenser, and sometimes old thermostats or accessories. Technicians will disconnect electrical lines, refrigerant lines, and duct connections, following environmental regulations when handling refrigerant.
Most contractors include removal and disposal of the old equipment in your quote. Ask in advance whether they will haul everything away, including old thermostats or window units if you are upgrading from a different type of system. During this phase, expect some noise and foot traffic, but a professional crew will keep disruption as minimal as possible.
Installing the New Equipment: Indoor, Outdoor, and Ductwork
Once the old system is out, the new equipment can be set in place. This is the heart of the installation process and often takes several hours, depending on the complexity of your home and system type (central air, heat pump, furnace with AC, or ductless mini‑splits).
Indoor unit: The furnace or air handler is positioned, leveled, and secured. Technicians connect it to existing or new ductwork, attach refrigerant and drain lines, and hook up gas and electrical connections where applicable.
Outdoor unit: The condenser or heat pump is placed on a concrete pad or sturdy stand to keep it level and off the ground. It is then connected to the indoor unit via refrigerant lines and electrical wiring, all run neatly and in accordance with code.
Ductwork and ventilation: If your ducts are older, leaky, or poorly sized, your installer may recommend repairs, sealing, or modifications. Even minor changes—like adding a return vent or sealing gaps—can significantly improve comfort and efficiency.
This is also when your new thermostat is installed and wired. Many homeowners opt for a programmable or smart thermostat to get the most from their new system’s efficiency features.
System Start‑Up, Testing, and Fine‑Tuning
Once everything is connected, the installer will carefully start up your new HVAC system and run it through a series of tests. This step ensures that the equipment is operating safely, efficiently, and according to manufacturer specifications.
Refrigerant charge and airflow checks: Technicians will measure pressures, temperatures, and airflow to verify that the system is properly charged and balanced. Incorrect refrigerant levels or poor airflow can shorten equipment life and increase energy use.
Safety controls and electrical checks: For gas furnaces, they will confirm safe ignition, combustion, and venting. For all systems, they will check breakers, wiring, and safety shutoffs to ensure everything is operating correctly.
Room‑to‑room comfort: In many homes, the team will walk through and check that air is flowing from each vent and that temperatures feel consistent. If a room is noticeably off, they may make small adjustments to dampers or vents.
Clean‑Up and Final Walkthrough with Your Installer
A professional HVAC crew will leave your home as clean—or cleaner—than they found it. Expect them to remove old equipment, pick up debris, vacuum or sweep work areas, and take up any drop cloths or floor coverings. Before they leave, you should receive a thorough walkthrough of your new system.
How to use your new thermostat, including programming schedules if applicable.
Where the air filter is located and how often to replace or clean it.
Any special features, such as zoning, humidity control, or air purification add‑ons.
This is also when you should receive warranty information, registration instructions, and details about recommended maintenance. Do not hesitate to ask the installer to repeat steps or show you how to adjust settings until you feel comfortable.
After the Installation: Comfort, Maintenance, and Peace of Mind
In the days and weeks after your HVAC installation, pay attention to how your home feels. Rooms should reach and maintain the temperatures you set, and the system should run smoothly without unusual noises or odors. It is normal for a brand‑new system to feel different from your old one—often quieter and more consistent—but anything that concerns you is worth a quick call to the installer.
To protect your investment, schedule regular maintenance, typically once a year for cooling and once a year for heating, or as your contractor recommends. Simple habits—like changing filters on time and keeping the outdoor unit clear of leaves and debris—help your system run efficiently and extend its life.
💡 Pro Tip: Ask if your installer offers a maintenance plan that includes tune‑ups, priority service, and discounts on repairs. This can make ongoing care more affordable and hassle‑free.
Bringing It All Together: What Homeowners Can Expect
An HVAC installation is more than a one‑day event—it is a process that starts with careful planning and ends with years of improved comfort and energy savings. As a homeowner, you can expect:
A detailed in‑home assessment and clear estimate tailored to your home and budget.
A full day (or sometimes two) of professional work that includes removal, installation, testing, and clean‑up.
Guidance on using and maintaining your new system so you can enjoy reliable comfort for years to come.
When you know what to expect during an HVAC installation, you can plan your day, ask the right questions, and feel confident in the work being done in your home. With the right contractor and a bit of preparation, the process should feel organized, professional, and ultimately rewarding—leaving you with a more comfortable, efficient home in every season.
Contact us at https://coolandwarmsolutions.com/ for all of your hvac needs!